Description
Honeywell 51403519-160 K4LCN-16 is a powerful industrial control module. Functional characteristics Powerful processing power: The use of advanced microprocessors, such as the Motorola MC68030, with high-speed data processing capabilities, can quickly and accurately perform a variety of control tasks, to ensure optimal operation in complex industrial environments. Rich storage resources: with 16MB memory, it can store a large number of programs and data, providing sufficient space for complex control logic and data processing. A variety of communication interfaces: support RS-232, RS-422 and Ethernet and other communication methods, can easily exchange data and communication with other devices, to achieve system integration and expansion. Flexible control function: can execute sequence control, ladder logic control and other control functions, support hybrid control mode, including continuous, logical and sequential control, to meet the needs of different industrial automation scenarios. It can also configure the execution cycle and execution sequence, the control loop execution cycle has 50ms, 100ms, 200ms, 500ms, 1sec, 2sec and other options, and the Peer-to-Peer update rate also has a variety of options. Electrical characteristics: The working voltage is 20V, the output frequency is 50kHz, which can provide stable power support and accurate frequency control for industrial equipment. Physical characteristics: Measuring approximately 8.5in x 5.25in x 1.25in and weighing approximately 2.5lb, the compact design makes it easy to install in space-limited industrial control cabinets. Application: Suitable for various industrial automation scenarios, such as manufacturing, petrochemical, energy, power and other industries. It can be used to control the operation of equipment on the production line, monitor various parameters in the industrial process, and realize automatic production process control.
General installation procedures of Honeywell 51403519-160 K4LCN-16, please be sure to read the product manual carefully before installation, and strictly follow the relevant safety regulations and operating guidelines:
1. Prepare
Confirm the installation environment: Select an appropriate installation position and ensure that the ambient temperature and humidity meet the requirements of the module. The operating temperature ranges from -20 ° C to + 60 ° C, and the humidity ranges from 5% to 95% without condensation. At the same time, ensure that the installation position is free from strong vibration, electromagnetic interference and corrosive gases.
Preparing installation tools: Prepare necessary tools, such as screwdrivers and wrenches, and installation accessories, such as guide rails and screws.
Check the integrity of the module: open the package and check whether the appearance of the module is damaged and whether the accessories are complete, including the module body, instructions, and wiring terminals.
2. Install the module into the control cabinet or rack
Select mounting method: The module may support a variety of mounting methods, the most common being DIN rail mounting or panel mounting.
DIN rail mounting: Secure the DIN rail to the control cabinet or rack to ensure that the rail is firmly and horizontally mounted. Align the buckle of the module with the DIN rail and gently press the module down until the module is firmly stuck to the rail.
Panel installation: Cut holes on the panel according to the dimensions of the module installation holes. Place the module on the mounting hole, and secure the module to the panel with screws. Ensure that the module is installed smoothly and firmly, and the screws are properly tightened to avoid damaging the module.
3. Electrical connection
Power connection: Connect an appropriate power cable to the power terminal of the module based on the specifications of the power supply (such as 20V). When connecting, pay attention to the positive and negative polarity of the power supply, usually the red line is connected to the positive electrode, and the black line is connected to the negative electrode. Make sure the connection is secure to avoid loosening or short circuit.
Communication connection:
RS-232 Connection: If RS-232 communication is used, connect the corresponding serial cable to the RS-232 interface of the module. Set parameters of the serial port as required, such as baud rate, data bit, stop bit, and parity check.
RS-422 connection: For RS-422 communication, connect the communication cable according to the pin definition of the interface, and ensure that the corresponding connection of wire A and B is correct. Also set the relevant communication parameters.
Ethernet connection: If Ethernet is used for communication, use a network cable to connect the Ethernet interface of the module to the network switch or other network devices. Check whether the network cable is securely connected and whether the port indicator is on.
I/O connection: Connect the input and output signal cables to the corresponding I/O terminals of the module according to the actual control requirements. Before connecting, it is necessary to clarify the type of signal line (analog, digital, etc.) and specifications to ensure that the connection is correct. For analog signals, it may be necessary to use shielded cables and ground them to reduce interference.
4. Configure modules
Setting parameters: Through the configuration interface of the module (such as serial port or Ethernet interface), the special configuration software or related tools provided by Honeywell are used to set parameters of the module. The Settings may include communication parameters (such as baud rate, IP address, etc.), control function parameters (such as control loop execution period, control mode, etc.), and input and output ranges. Ensure that these parameter Settings match the requirements of other devices and practical applications of the system.
Load program (if required) : If the module needs to run a specific control program, use configuration software to load the program into the module's memory. Before loading the program, check and debug the program to ensure the correctness and stability of the program.
5. Check and test
Appearance check: Check whether all cables are securely connected, loose or damaged. Whether the module is securely installed and screws are tightened.
Power test: Power on the module and check whether the power indicator on the module is on to ensure that the module is powered on. Check whether other indicators, such as the communication indicator and running status indicator, are displayed normally and determine whether the module is working properly.
Function test: By configuring software or connected devices, send test commands to check whether the input and output functions of the module are normal. For example, sending a control signal to check that the connected device behave
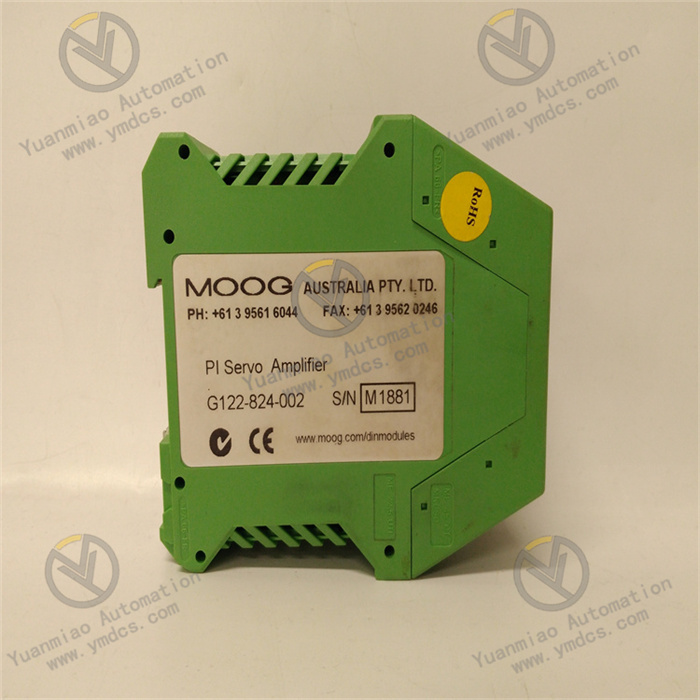
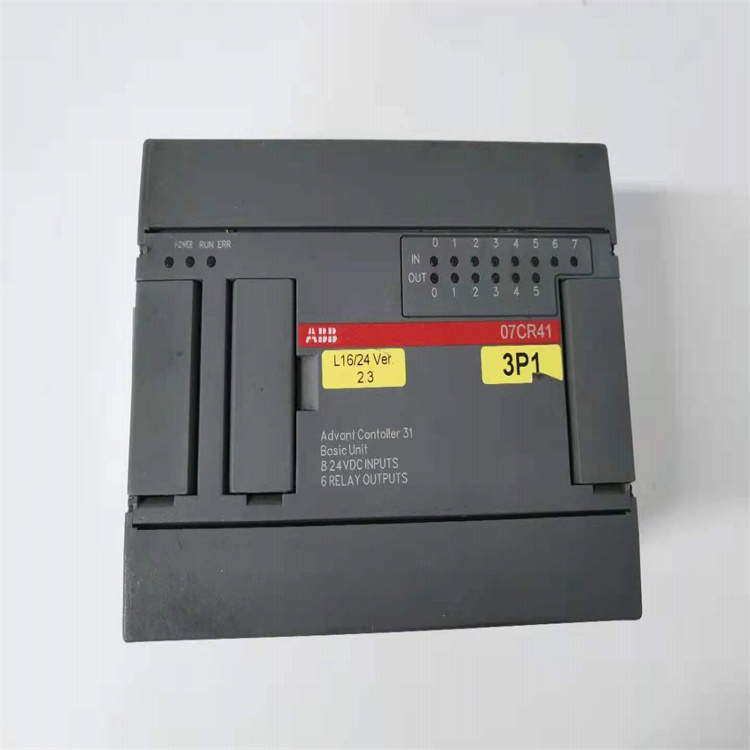
Main brands include: ABB, Bailey, GE, FOXBORO, Invensys TRICONEX, Bentley BENTLY, A-B Rockwell, EMERSON EMERSON, B&R, MOTOROLA, FUANC, REXROTH, KUKA, HONEYWELL, NI, DEIF, Yokogawa, WOODWARD WOODWARD, Ryan, SCHNEIDER SCHNEIDER, Yaskawa, MOOG, EPRO, PROSOFT and other major brands
【 Disclaimer 】 We sell new products and discontinued products, independent channels to buy such special products. Guizhou Yuanmiao Automation Equipment Co., Ltd. is not an authorized distributor, dealer or representative of the products featured on this website. All product names/product images, trademarks, brands and microlabels used on this Website are the property of their respective owners. Descriptions, depictions or sales of products with such names/images, trademarks, brands and logos are for identification purposes only and do not imply any association or authorization with any rights holder. This article is from the official website of Guizhou Yuanmiao Automation Equipment Co., LTD. Please attach this link:http://www.ymdcs.com/Honeywell/